A digital tool for digital artists to build their own fantasy characters


What exactly is this?
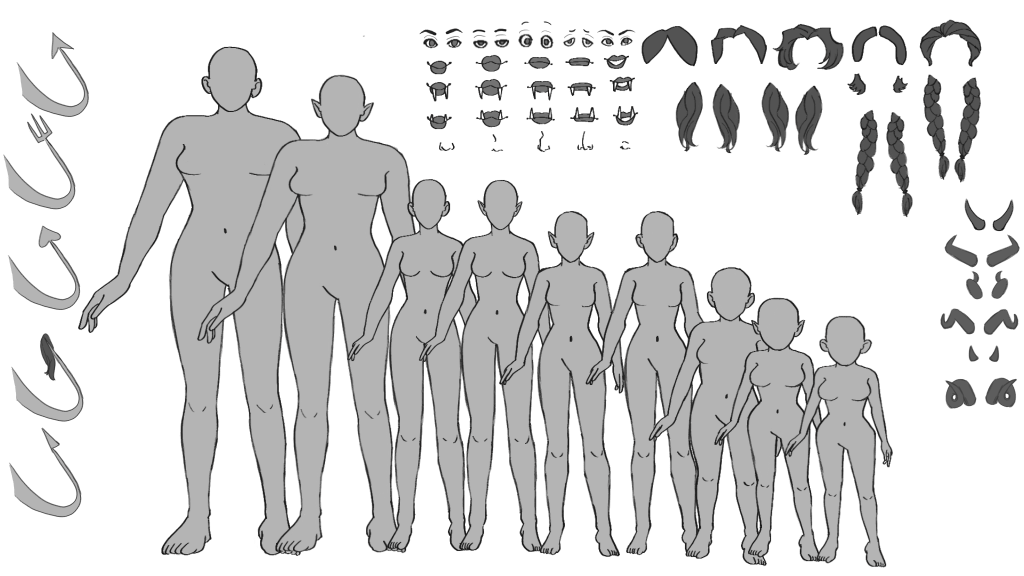
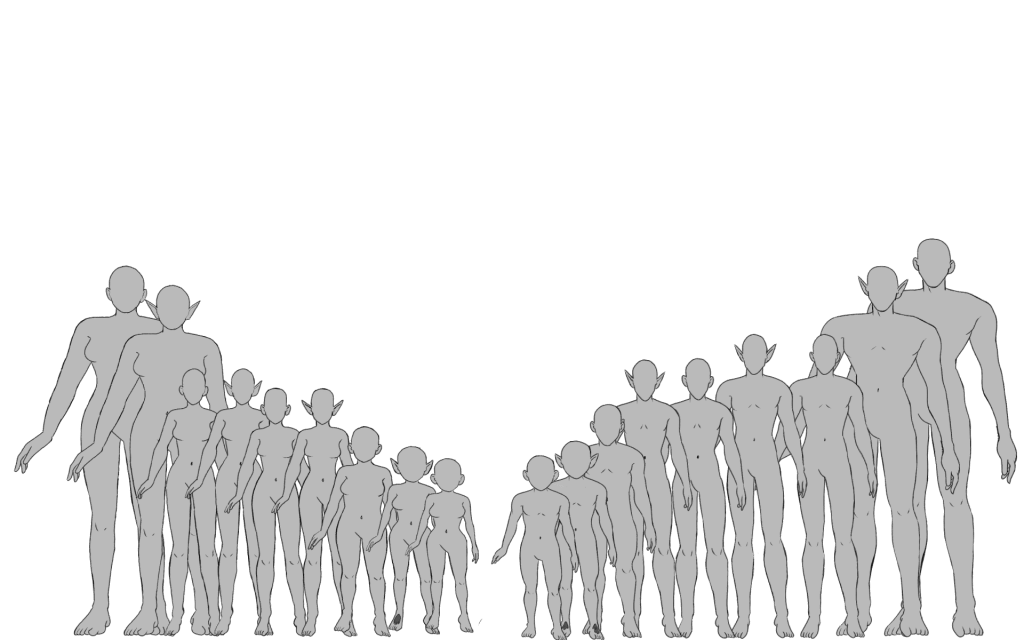
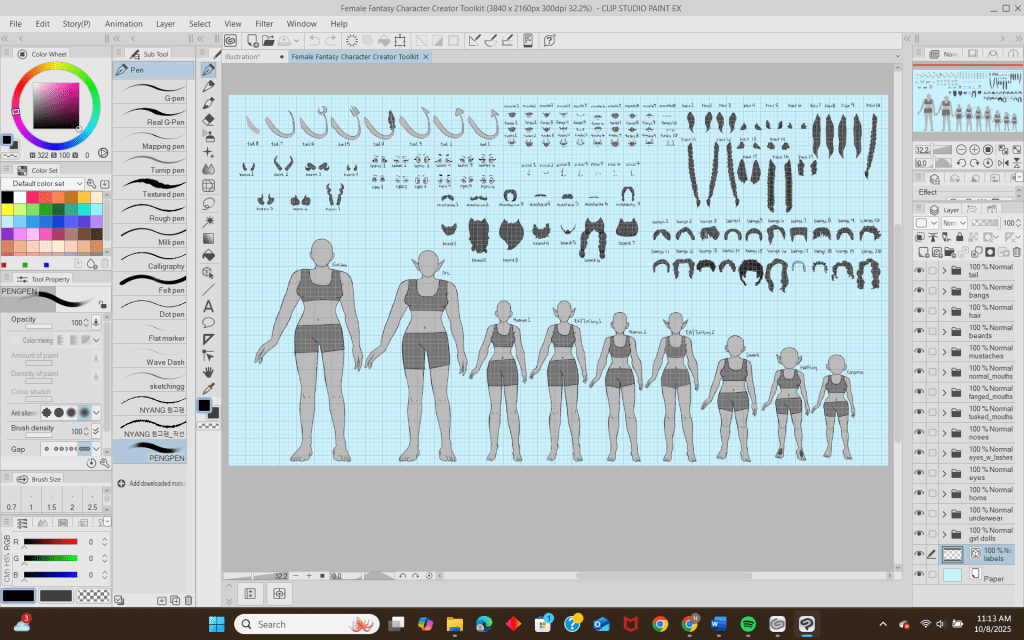
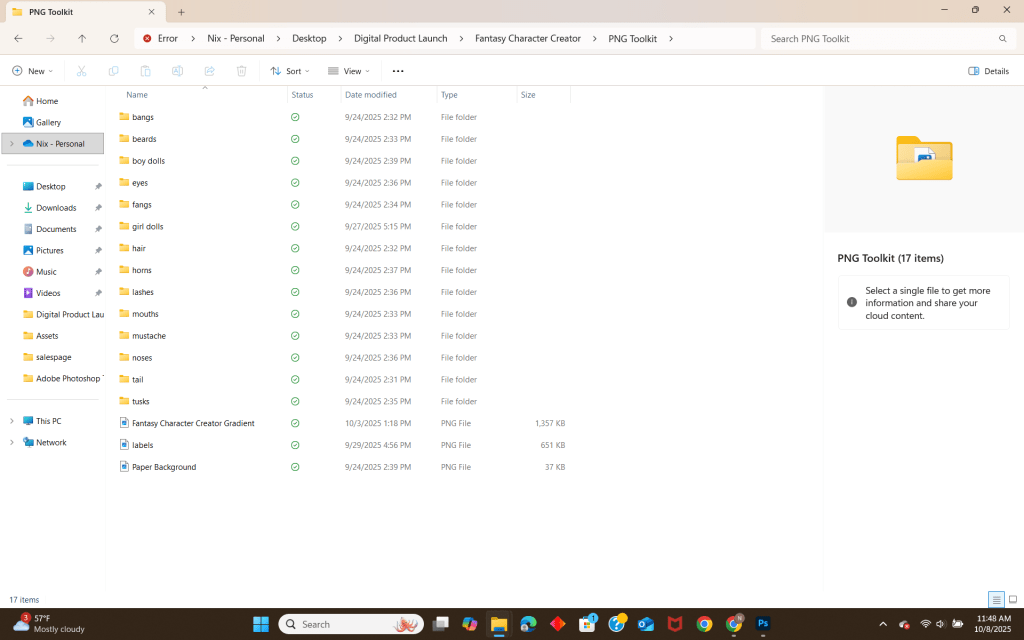
The Fantasy Character Creator is a pre-prepared composition for drawing programs like Clip Studio Paint and Adobe Photoshop, featuring a collection of customizable dolls with options for hair, eyes, noses, eyebrows, bangs, hair, horns, and tails to create your desired fantasy character. It is also available as a PNG version for import into your preferred creative program.
What is it for?
Creating diverse fantasy characters for various reasons, such as:
- Visual representations for Dungeons & Dragons character sheets.
- Visual representations for general fantasy character sheets.
- Bases to draw your own fantasy fashion.
- Any remixes you can think of to make with it!

Who is it for?
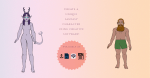
The intended audience for this product is digital artists and fans of both D&D and fantasy, who have varying illustration skills or who like creating characters and character creators. Did you play dress-up games a lot as a kid? Do you spend more time on character creation than playing the actual game? This is the product for you!
Production Breakdown
Phase 1: First Build
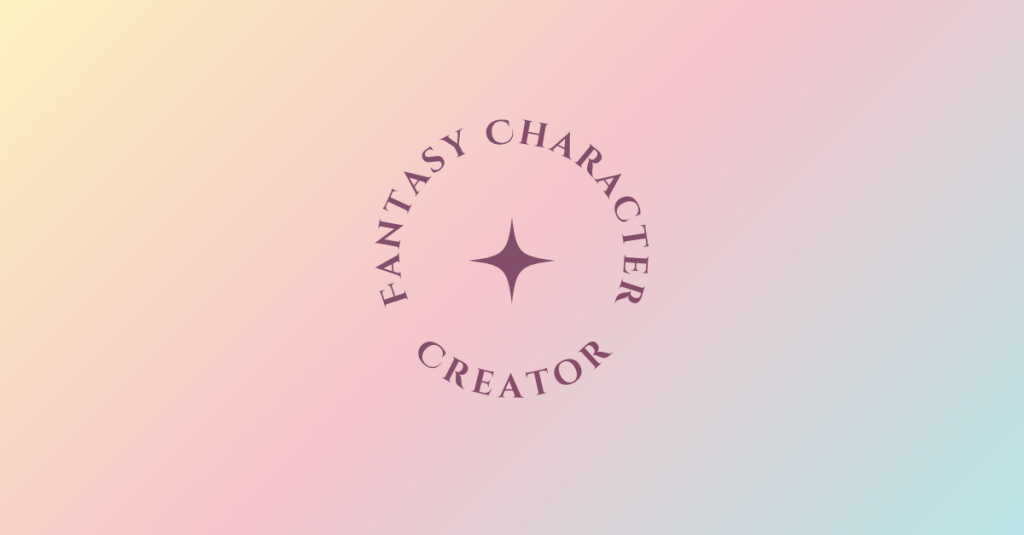
My original idea for how the toolkit would work is that it would allow users to build their character from individual body parts. I tried to create a doll like this, but I ended up hating it.
Rather than committing to a creation method I hated, I decided to draw whole bodies instead and offer a diverse range of them.
Phase 2: Expanding the Prototype
The goal of this phase for the Fantasy Character Creator Toolkit was to recreate the prototype from the first build phase, using improved methods, and to expand on the options presented in the initial prototype.
One specific change between the prototypes is that the line art layers have been converted to vector layers, while the color layers remain raster layers.
This ensures that the line art remains consistent with any scaling of the character pieces. At the same time, the color layers remain raster layers, because Clip Studio Paint does not allow the fill or gradient tools to be used on vector layers. This is required to change the colors on color layers.
Phase 3: Refinement & Testing
Although all the components for the Fantasy Character Creator were already in place, I still needed to determine how to organize them so that the user could view them effectively. One feature I added was labels for the user to see the name of each item, allowing them to know which layers to select to move it. With this done, the product was finally ready to be seen by others.
My first friend to test it out, Joymae, emailed me a typed document with their feedback, which was honestly entertaining for me to read. They were purposely goofy with it, but they still gave constructive feedback. As a digital artist, they appreciate that the toolkit is built in pre-existing creative software, allowing users to have more creative freedom. This was precisely my goal in hosting the character creator in creative software.
They did express difficulty transforming the smaller parts without zooming in on the canvas. While this could potentially be fixed by upscaling all the parts, I do not really think it is a necessary change. Zooming in allows the user to take a closer look at the hard work I put into creating the graphics.

Phase 4: Packaging & Delivery
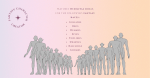
For the packaging of this product, the plan is to offer the toolkit in a canvas format compatible with Clip Studio Paint and Adobe Photoshop. To create the toolkit, I drew all the elements in Clip Studio Paint. With Clip Studio Paint, I was able to duplicate both versions, boy and girl, as Adobe Photoshop documents.
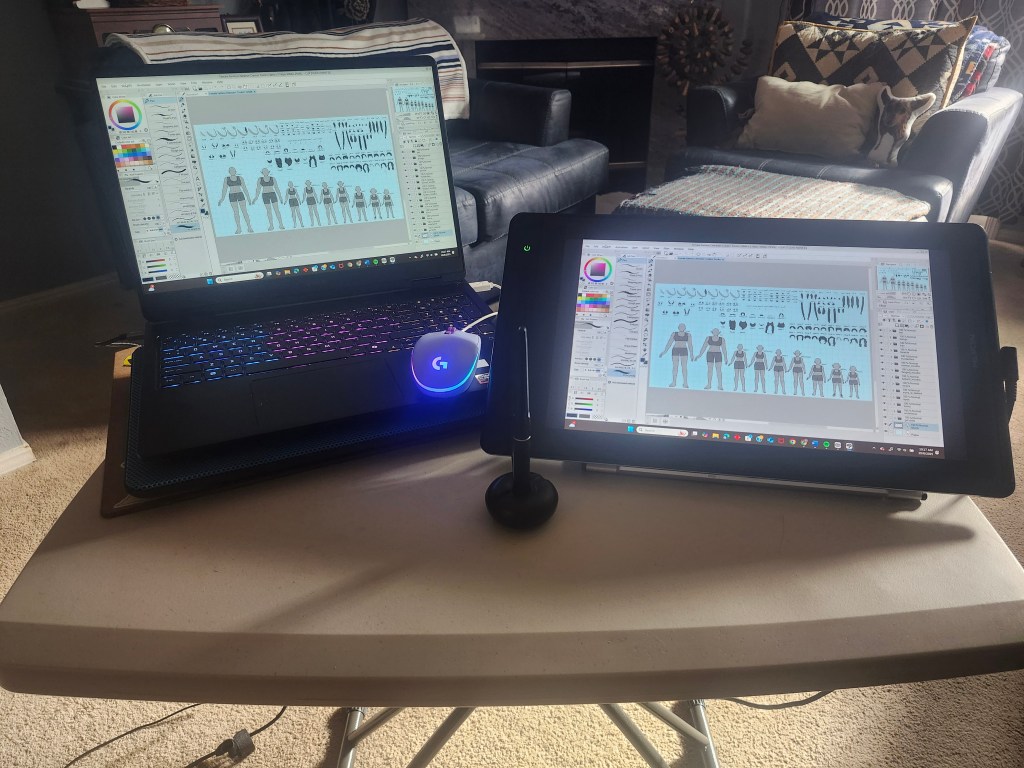
To the left here is the drawing set up the laptop and drawing tablet set up I had to create the toolkit.
For delivery, I had been planning to sell on Creative Market but have since pivoted to BuyMeCoffee. This is because I honestly could see myself building a business there more than on Creative Market.
Below is a screenshot of each toolkit version, Clip Studio Paint, Adobe Photoshop, and the PNG File version.

Phase 5: Sales Page
While I was considering creating a store page specifically for the product, I decided to set up my own storefront. However, I borrowed the color scheme and fonts from the assets to create a banner for the storefront, which is shown below.

This is to create cohesion between my product and the storefront itself.
Phase 6: Marketing Plan
To generate interest in my product, I plan to funnel sales through the following ways:
- Advertising using a mailing list.
- Posts advertising on Instagram
- Posts advertising on Reddit
I have chosen a mailing list because it is an easy way to notify specific people about the product (even if those people are friends and family).
I chose Instagram because it is already the website where I primarily post my art. It is also a place where all my Aunties can see it and tell me how great it is.
Finally, I chose Reddit because its online discussion forum structure creates a perfect digital space to advertise my product to people who are likely to buy it.
Mailing List
For my mailing list, it is a short list that features family and friends, but they are the ones I have to email. The email will feature a newsletter about the product. It will be sent out a few times in case potential customers miss it in their inboxes. You can view the newsletter that was sent out below.
For Instagram, since videos typically get more views than static posts, I made some simple video advertisements for my product. These videos are designed to capture the attention of viewers and pique their interest in the toolkit. I use simple animation movements to draw attention, as well as music, to make the videos more engaging.
The videos I posted are embedded below.
For Reddit, I created simple images to capture users’ attention as they scroll. Each one will be posted with the same information about the toolkit. This is so that potential customers don’t have to go searching for more details.
Such as the post embedded below.
Reviews
“I appreciate the different options for making a lil guy aren’t gender locked. That’s such a letdown in so many different character creators that isn’t present here! BEARDED DWARF LADY SUPREMACY!”
–Real User
Moving Forward
Something I hope to add, either in an updated version or as additional content for this toolkit, is customizable clothing options for the characters.
In addition to expanding the customization options that are already available.